| Ubuntu 20.04 focal fossa | Ubuntu 22.04 jammy jellyfish | |
| WordPress 6 | ✅ | ✅ |
Preparation
Install the necessary software package. Run all commands here as root (do a sudo bash).
apt update
apt install mysql-server mysql-client
apt install libapache2-mod-php php-mysql zip unzip net-tools
Optionally you can install these packages also (they are not mandatory). PHP health dashboard seems to recommend them.
apt install php-gd php-imagick php-xml php-mbstring php-zipAt this point you should have MySQL and Apache2 installed.
Apache HTTPD setup
Optional, but to be tidier, let’s rename Apache’s configuration file.
cd /etc/apache2/sites-available
mv 000-default.conf default.conf
cd /etc/apache2/sites-enabled
rm 000-default.conf
ln -s ../sites-available/default.conf .
Enable Apache’s mod_ssl and mod_rewrite.
a2enmod ssl
a2enmod rewrite
WordPress and Google Site Kit
Download the latest WordPress and Google Site Kit. Extract WordPress, then extract Google Site Kit in WordPress’s wp-content/plugins/folder. Then make sure permissions are correct. Then move to Apache’s root document folder. Remove the default index.html so it shows WordPress by default (not Apache’s page). At the time of writing the latest version of WordPress is 6.3.1.
mkdir -p /system/storage
cd /system/storage
wget https://wordpress.org/latest.zip
mv latest.zip wordpress-6.3.1.zip
wget https://downloads.wordpress.org/plugin/google-site-kit.1.110.0.zip

unzip /system/storage/wordpress-6.3.1.zip
cd wordpress/wp-content/plugins
unzip /system/storage/google-site-kit.1.110.0.zip

cd /system/storage
chown www-data:www-data -R /system/storage/wordpress/wp-content
chown www-data:www-data /system/storage/wordpress/*
mv /system/storage/wordpress/* /var/www/html

rm /var/www/html/index.html
At this point you should be able to see WordPress, if you go to your server’s IP address on your browser.

MySQL setup
Run these commands
# mysqlOnce inside the mysql console, run these commands to create a new database and a new user.
create user 'administrator'@'localhost' identified by 'myownpassword';
create database wordpressdatabase;
grant all privileges on wordpressdatabase.* to 'administrator'@'localhost' with grant option;
flush privileges;
If you are having issues with permissions, you could try this command instead. this will give you all permissions on all tables.
grant all privileges on *.* to 'administrator'@'localhost' with grant option;
WordPress installation
Go to your server’s IP address on your browser, you should be able to see WordPress, just follow the instructions.
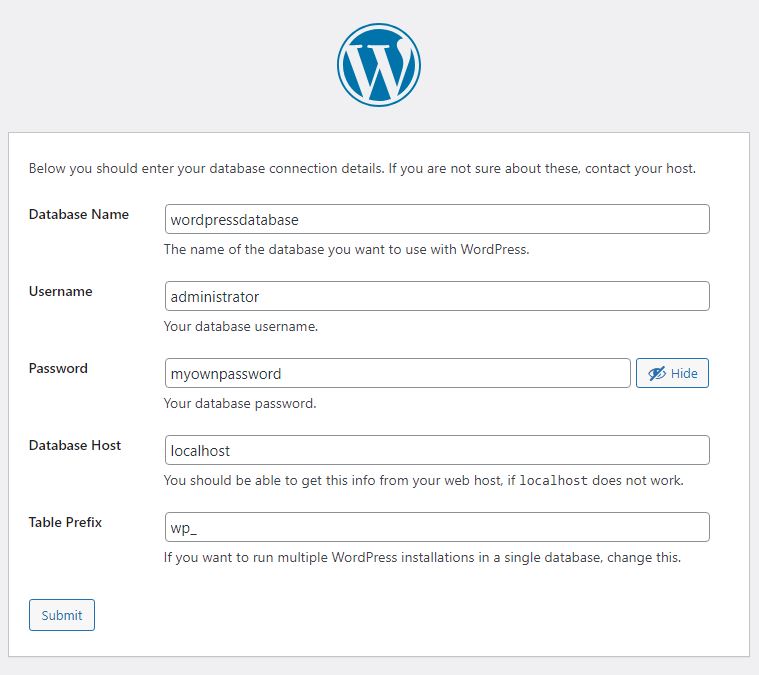

Copy the content to /var/www/html/wp-config.php
Mine looks like this
<?php
/**
 * The base configuration for WordPress
 *
 * The wp-config.php creation script uses this file during the installation.
 * You don't have to use the web site, you can copy this file to "wp-config.php"
 * and fill in the values.
 *
 * This file contains the following configurations:
 *
 * * Database settings
 * * Secret keys
 * * Database table prefix
 * * ABSPATH
 *
 * @link https://wordpress.org/documentation/article/editing-wp-config-php/
 *
 * @package WordPress
 */

// ** Database settings - You can get this info from your web host ** //
/** The name of the database for WordPress */
define( 'DB_NAME', 'wordpressdatabase' );

/** Database username */
define( 'DB_USER', 'administrator' );

/** Database password */
define( 'DB_PASSWORD', 'myownpassword' );

/** Database hostname */
define( 'DB_HOST', 'localhost' );

/** Database charset to use in creating database tables. */
define( 'DB_CHARSET', 'utf8mb4' );

/** The database collate type. Don't change this if in doubt. */
define( 'DB_COLLATE', '' );

/**#@+
 * Authentication unique keys and salts.
 *
 * Change these to different unique phrases! You can generate these using
 * the {@link https://api.wordpress.org/secret-key/1.1/salt/ WordPress.org secret-key service}.
 *
 * You can change these at any point in time to invalidate all existing cookies.
 * This will force all users to have to log in again.
 *
 * @since 2.6.0
 */
define( 'AUTH_KEY',         'HId;s[:2CU5lw@]^{,_ ZQ:keD;wJO{*]+k!)6S3LZ(TBS6;Z`]HJ;[redacted]' );
define( 'SECURE_AUTH_KEY',  'NzhD)l4Ong?6OFWp=@} UKB>Cfs-e}6-!,/N2Eo?9Jm]8)@hK0WXnM[redacted]' );
define( 'LOGGED_IN_KEY',    '99n7cRQ8~bFs{TIUln>:So|Ac=rs4ZGth5Lo[7I.RoMc7E#m]02WOJ[redacted]' );
define( 'NONCE_KEY',        'kBRM/aoT>9[/9+XQlUcS__.rdB]Tn5-731]h#1FaSF N44f5[7AZ*K[redacted]' );
define( 'AUTH_SALT',        '68S9sF%4 PXn[JojwG8_lRyBEK1-2={*/~*`43f!D^b4}[9v_~[v;T[redacted]' );
define( 'SECURE_AUTH_SALT', '}1giN+=0X[=kjw4*w7z$[=NxP[_7Bz;^+F&CO^.HCJz>KbiTSDZ#Oy[redacted]' );
define( 'LOGGED_IN_SALT',   '*Umy)n2i<G(R;(+-jI%ty[uXMIA.:C(oK~I,FCbtC[9.OaybM[A4;8[redacted]' );
define( 'NONCE_SALT',       '4Y.p)Y$^.EOz#j,Ygimv`Zb,*gh>PW</mp7&^~S+[E!y4K4XOY&A{>[redacted]' );

/**#@-*/

/**
 * WordPress database table prefix.
 *
 * You can have multiple installations in one database if you give each
 * a unique prefix. Only numbers, letters, and underscores please!
 */
$table_prefix = 'wp_';

/**
 * For developers: WordPress debugging mode.
 *
 * Change this to true to enable the display of notices during development.
 * It is strongly recommended that plugin and theme developers use WP_DEBUG
 * in their development environments.
 *
 * For information on other constants that can be used for debugging,
 * visit the documentation.
 *
 * @link https://wordpress.org/documentation/article/debugging-in-wordpress/
 */
define( 'WP_DEBUG', false );

/* Add any custom values between this line and the "stop editing" line. */


/* That's all, stop editing! Happy publishing. */

/** Absolute path to the WordPress directory. */
if ( ! defined( 'ABSPATH' ) ) {
	define( 'ABSPATH', __DIR__ . '/' );
}

/** Sets up WordPress vars and included files. */
require_once ABSPATH . 'wp-settings.php';
Run the installation, you should be able to see this screen. Then press Install WordPress.


You should then be able to login.
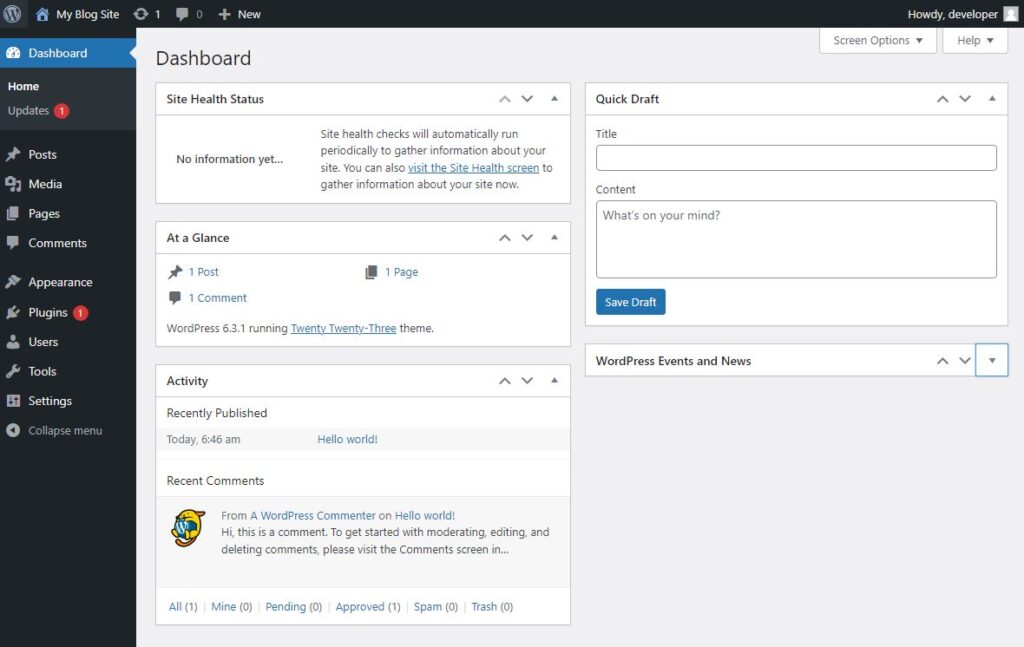
But wait, you are not done yet!
There is not a lot of information on what you need to do at this stage, so I will describe them here.
Plugins and themes
At this point, if you want to install a plugin or a them you will get prompted with an FTP connection information like so. This is really annoying because setting up an FTP server is cumbersome.
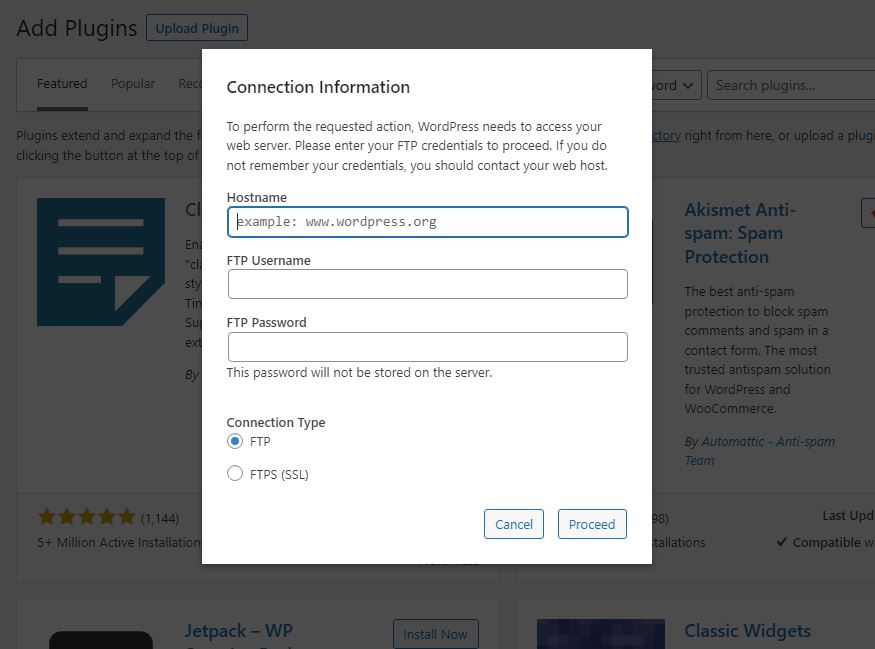
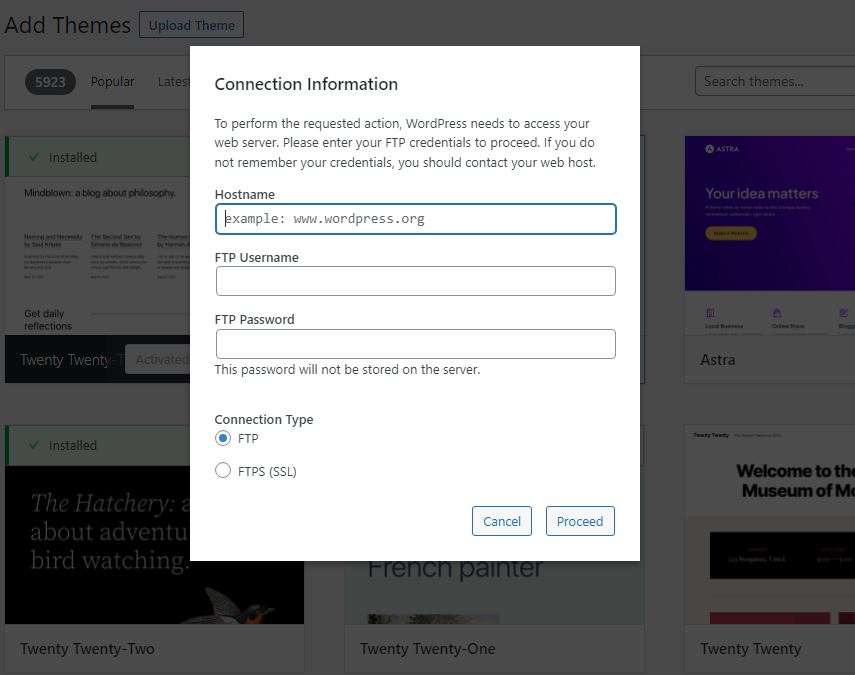
What you need to do is add this piece of code in wp-config.php.
define( 'FS_METHOD', 'direct' );Add them somewhere here.
/* Add any custom values between this line and the "stop editing" line. */

define( 'FS_METHOD', 'direct' );

/* That's all, stop editing! Happy publishing. */
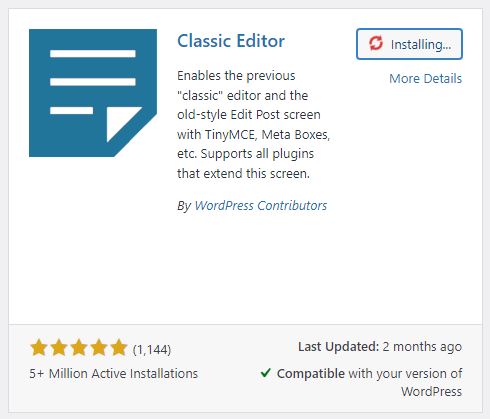
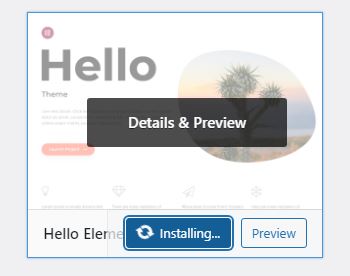
Refresh your browser, you should now be able to install plugins and themes.
WordPress REST API
If now you go to http://your-server-ip-address/wp-json, you’ll get this

This wp-json/ being not found means the WordPress REST API is not working, REST API is needed for Google Site Kit.
To fix this you’ll need
- Apache mod_rewrite to be enabled (we already did earlier)
- File default.conf to be changed
- File default-ssl.conf to be changed (if you are using SSL, which is recommended anyway)
- Get WordPress to tell us the .htaccess file to copy to /var/www/html
Add this piece of text into both /etc/apache2/sites-available/default.conf and /etc/apache2/sites-available/default-ssl.conf
DocumentRoot /var/www/html
<Directory /var/www/html>
    Options Indexes FollowSymLinks
    AllowOverride All
    Require all granted
</Directory>
Restart Apache by executing systemctl restart apache2
WordPress will now need to write the .htaccess file in /var/www/html. First we create an empty .htaccess file, then change the owner to www-data so WordPress can write to it.
touch /var/www/html/.htaccess
chown www-data:www-data /var/www/html/.htaccess
Go back to WordPress in browser, go to Settings > Permalinks. Choose any of the permalink structure. And save. You should see an message “Permalink structure updated.”. This means WordPress was able to update the .htaccess file. Alternatively, WordPress will tell you what to put and you can copy and paste it to /var/www/html.
For example this is mine
<IfModule mod_rewrite.c>
RewriteEngine On
RewriteRule .* - [E=HTTP_AUTHORIZATION:%{HTTP:Authorization}]
RewriteBase /
RewriteRule ^index\.php$ - [L]
RewriteCond %{REQUEST_FILENAME} !-f
RewriteCond %{REQUEST_FILENAME} !-d
RewriteRule . /index.php [L]
</IfModule>
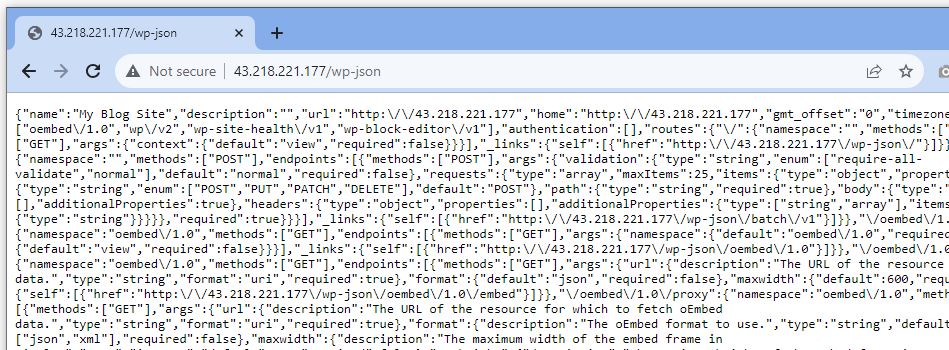
Now if you go to wp-json/ you should see something, this means the REST API is working.
If you go to Plugins, you should see Site Kit by Google and able to activate it.
